How to Isolate a Dog Barking Sound WAV with AI
You've got the shot: a dog barks at exactly the right moment, but the recording also contains traffic, wind, conversation, and a collar jingle. A stock-library dog barking sound WAV might be clean, yet it won't match the distance, room tone, or rhythm of the original scene.
The practical alternative is to extract the bark from your own recording. A reliable workflow is straightforward: preserve the source, prepare a processing copy, describe the target sound, choose an appropriate quality setting, inspect the result, and export it with useful metadata. AI can separate a bark from many messy recordings, but it can't reconstruct detail that was never captured or reliably identify every loud sound as a bark.
From Messy Recording to Clean Bark WAV
A field recording rarely arrives in a neat sound-effects library. The bark may sit behind a passing car, a person saying a line, or gusts hitting the microphone. Cutting around the waveform manually can help when the bark is isolated, but it becomes slow when the unwanted sounds overlap the same moment.
That's where natural-language separation changes the workflow. Instead of searching through generic downloads, upload the recording and describe the sound you need, such as “dog barking in the background.” The system can return an isolated track and a remainder track, giving you both the extracted event and the material removed from it.
Practical rule: Treat the first separation as a draft, not as proof that the sound is clean.
Start with the untouched original. Create a copy for processing, identify the bark you want, and use a specific description that reflects the recording. A single nearby bark needs a different prompt from several distant barks mixed with speech. After processing, compare the isolated output with the source in both a spectrogram and a listening pass.
The result you want is a usable sound effect, not merely a file with “bark” in its name. You'll finish with a repeatable method for extracting the event, spotting artifacts, deciding whether to rerun the separation, and documenting the WAV so you know what it contains.
Preparing Your Source File the Right Way
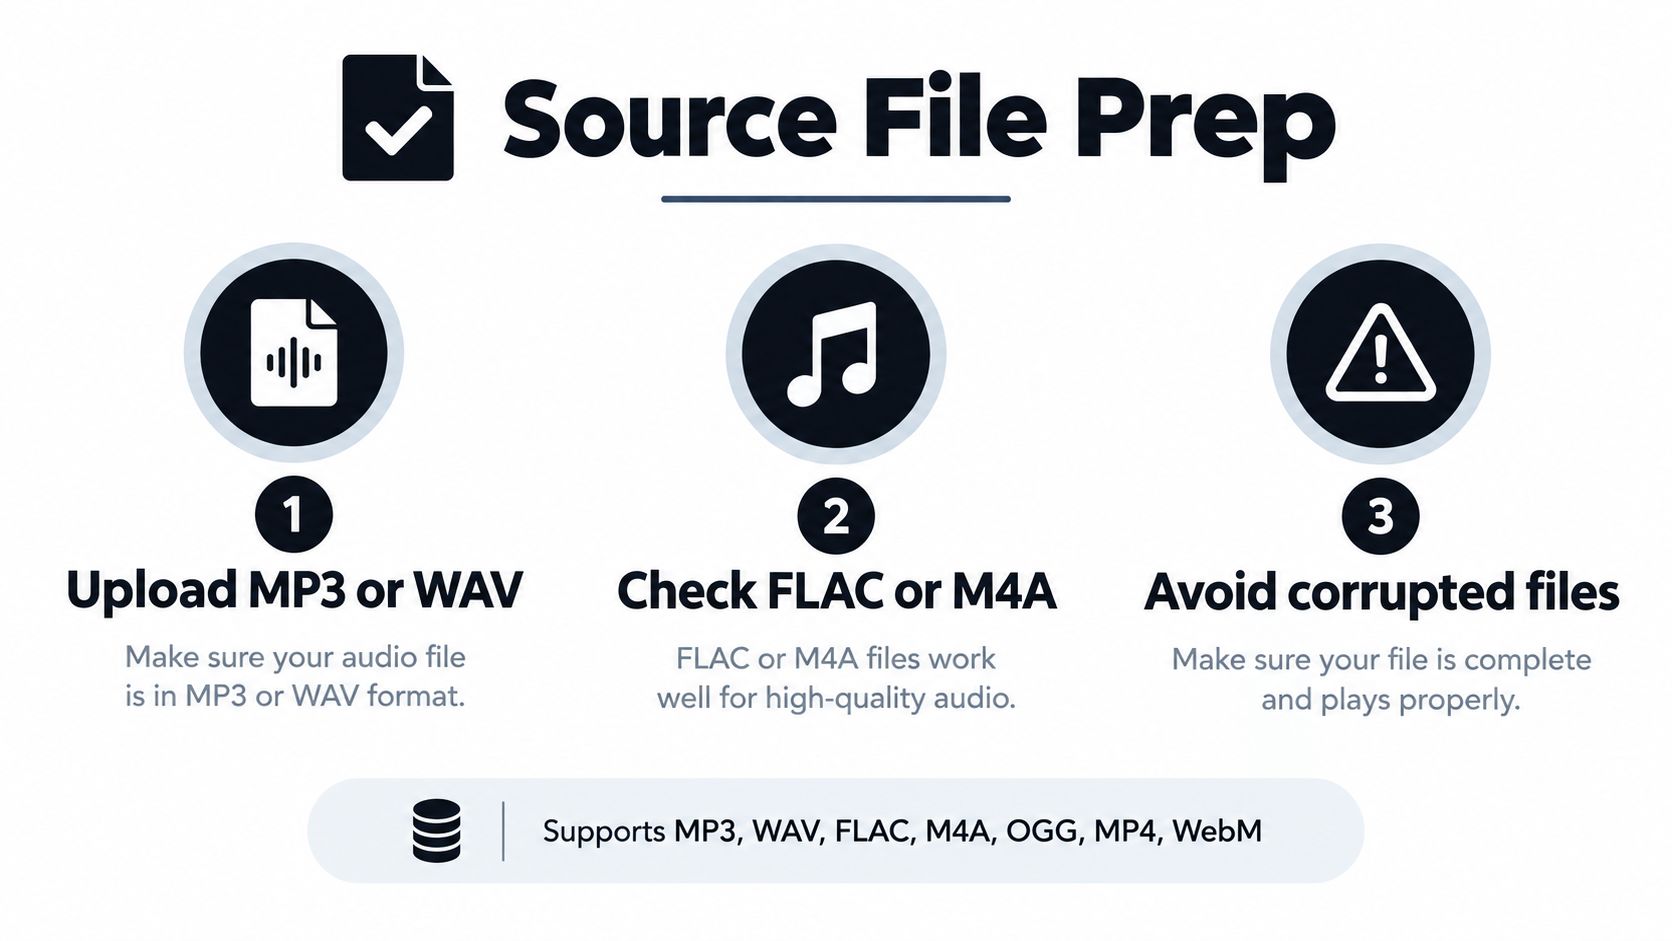
The input format usually isn't a barrier. Isolate Audio accepts MP3, WAV, FLAC, M4A, OGG, MP4, WebM, and other common formats, so you can often upload the camera or phone file directly. For a cleaner working process, keep the original untouched and make a separate processing copy.
Use a safe preparation sequence
Keep the original: Store the camera file, recorder file, or phone export separately. Don't normalize, denoise, convert, or overwrite it before you've made a backup.
Make a processing copy: If the source is compressed, upload it as it is first. If you're preparing a local copy, convert it to mono PCM WAV and retain at least 16-bit resolution. Mono is practical when the bark doesn't need a stereo image, and PCM WAV avoids adding another lossy encoding stage.
Check the file before upload: Play the copy from beginning to end, confirm that it opens correctly, and listen for dropouts or corruption. A damaged source can't produce a dependable separation.
Keep the recording natural: Don't aggressively boost quiet material or clip loud peaks before isolation. Over-processing can make wind, speech, and handling noise harder to distinguish from the bark.
Cloud processing means you don't need to install an audio editor just to test the separation. If you're comparing specialist audio tools for cleanup, RepurposeYourContent reviews tools can help you understand how different workflows approach enhancement, but the source-preservation rules remain the same.
A good preparation copy should still sound like the original. The point isn't to make the recording impressive before AI touches it. The point is to give the separator an intact, recoverable source and leave yourself a trustworthy reference for quality control.
Isolating the Bark With Natural Language Prompts
Open Isolate Audio, upload the prepared file, and describe the sound in plain English. This differs from a conventional music stem separator, where you usually choose fixed categories such as vocals, drums, or bass. Here, the useful control is the description itself.
Type a prompt that names the sound and its relationship to the scene. “Dog barking” is a sensible starting point, but details such as distance, overlap, and competing sounds can make the target clearer. You can describe a sound in natural language before running the separation if you want to think through the wording.
Prompts that match real editing problems
- Single distant bark:
a single distant dog bark behind outdoor ambience - Several overlapping barks:
multiple dogs barking at different distances, preserve each bark burst - Bark mixed with puppy sounds:
adult dog barking, exclude puppy whining and whimpering - Barking behind dialogue:
dog barking behind human speech, keep the bark and reduce the voice
These prompts aren't magic commands. They're useful descriptions of the editorial target. If the recording contains a dog bark, a door impact, and a metal collar jingle in the same instant, the system still has to separate overlapping acoustic information. More specific wording gives you a better starting point, but you'll need to judge the output by ear.

The service returns two outputs: the isolated bark and the remainder. The first can become a sound-effect layer, replacement cue, or research sample. The remainder can help you check what the process removed and whether speech, ambience, or part of the bark leaked into the wrong track.
Processing takes minutes rather than hours for typical uploads. If you're new to separation, it also helps to browse stem separation techniques so you understand why overlapping sounds can leave residue even when the target seems obvious.
Run the first prompt, then listen to the bark without judging it against silence. Compare it with the original context. A bark that sounds clean alone may feel unnaturally chopped once placed back under the picture, while a small amount of ambience may be desirable for continuity.
Choosing Presets and Using Precision Mode
Preset choice affects how you spend time. Fast is useful for checking whether the prompt is pointing at the right sound. Balanced is a practical middle ground for ordinary editorial work. Best makes more sense when the isolated bark will sit in a final mix and you're prepared to inspect the result closely.
| Preset | Best For | Processing Trade-off |
|---|---|---|
| Fast | Prompt tests and quick selections | Shorter processing with less emphasis on difficult separation |
| Balanced | Draft edits and ordinary source recordings | A practical compromise between speed and refinement |
| Best | Final sound design and important exports | More processing time in exchange for a stronger quality attempt |
When Precision Mode earns its place
Use Precision Mode when the bark overlaps speech, music, another animal, or dense environmental noise. It's less useful as a default button for every file. If the bark is already clear and isolated in the source, a simpler preset may be enough.
The most common mistake is treating every loud transient as a bark. Human speech, a door impact, a collar strike, and other canine vocalizations can create similar short-time energy patterns. The explanation of Precision Mode is useful when you're deciding whether the difficult mix justifies a slower, more careful pass.
Start with Fast if you're testing wording. Move to Balanced when the target is correct but the output needs refinement. Choose Best or Precision Mode when the bark is important, overlaps another source, or will be exposed in the final sound design.
Listen before upgrading the setting: If the prompt targets the wrong event, more processing won't fix the editorial decision.
A specific prompt and the right preset work together. “Dog barking behind speech” gives the separator a clearer target than “animal sound,” while Precision Mode gives a challenging overlap more attention. Neither option can guarantee perfect recovery from severe masking, so keep the original nearby for cutaways and room-tone continuity.
Verifying Your Isolated Bark Before Export
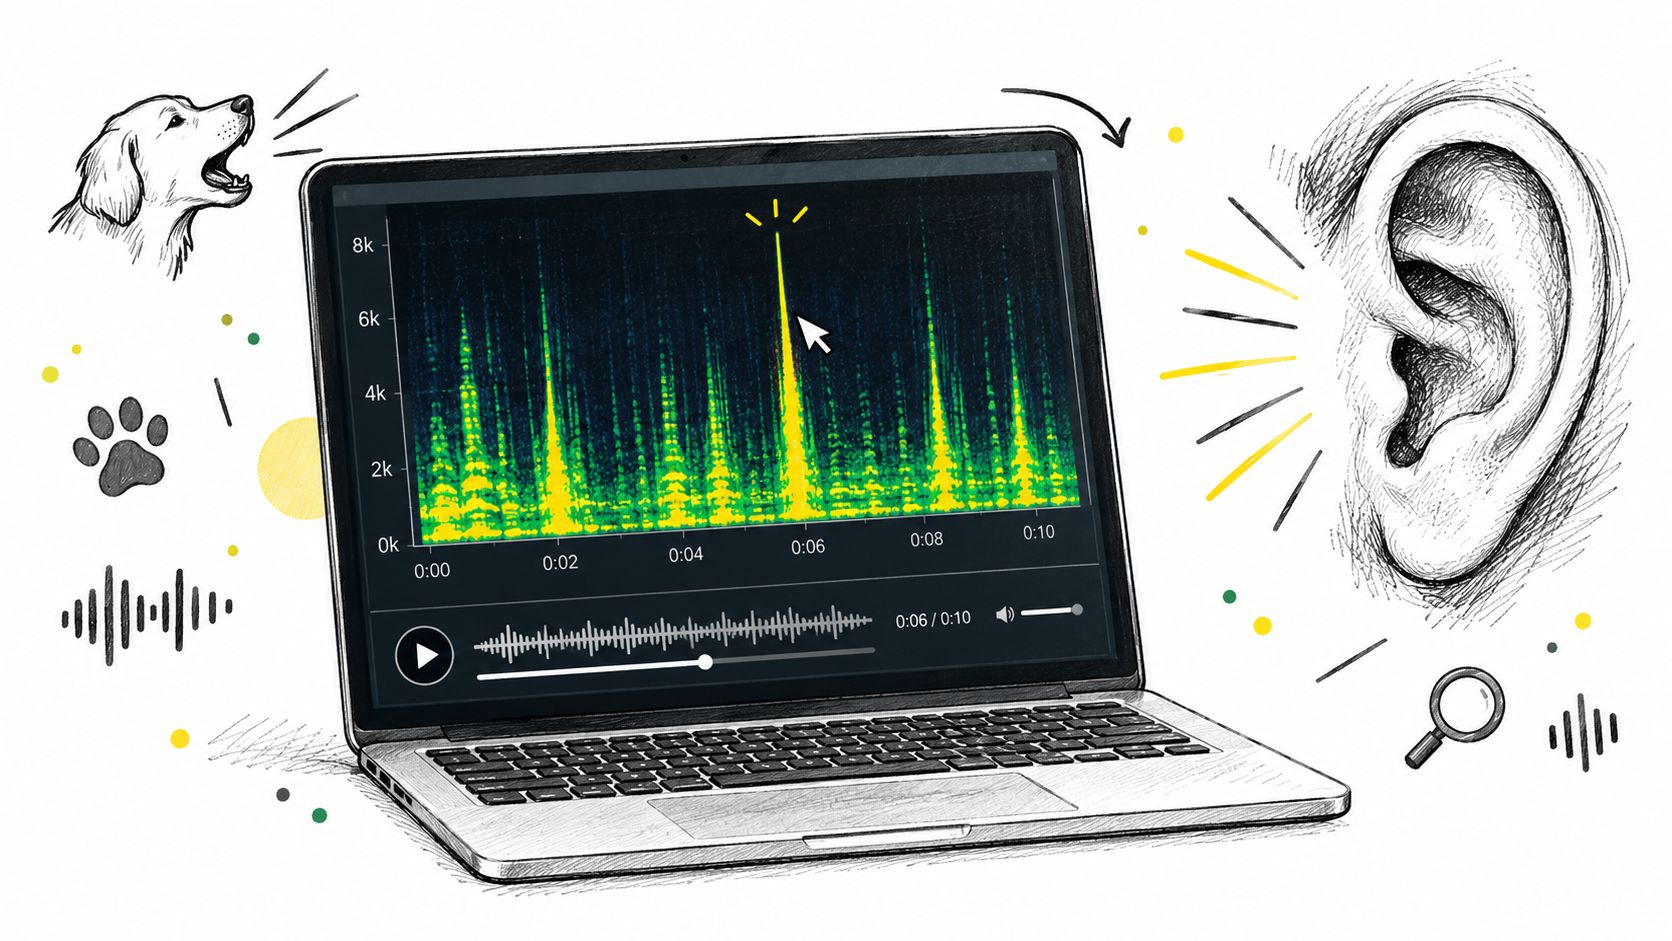
An isolated file isn't finished when the progress indicator stops. Verification catches the problems that a filename and waveform view won't show. Compare the isolated track with the original in a spectrogram, then listen at normal level and with headphones.
A spectrogram helps you see whether the bark's attack survived. Look for the sharp onset, the decay, and any frequency bands that appear in the original but disappear from the isolated file. Then listen for three specific failures:
- Missing bark attacks: The beginning of a bark may be softened or removed, making the event feel late.
- Musical noise: Warbling, watery tones, or artificial chirps can appear after separation.
- Residual speech: Fragments of dialogue may remain, especially when the voice overlaps the bark.
Judge the bark as an acoustic event
Real barks don't share one fixed shape. Spectrographic analysis of 4,672 barks found that amplitude range, minimum frequency, duration, and mean frequency were the four most influential variables, together accounting for 82% of observed variation (Yin and McCowan's spectrographic analysis). That variation explains why one bark in a recording may separate cleanly while another, quieter or more masked bark loses detail.
Check the isolated track against the source event by event. If a sequence contains several barks, don't assume that a successful first extraction means every later bark survived equally. Zoom in on the quietest event and the one closest to speech or wind.
Avoid using the isolated WAV as proof of emotion or intent. Context classification is much harder than detecting barking. One study reported 43% context-recognition efficiency and 52% individual-recognition efficiency for unknown samples, while another reported 23.7% unweighted recall for bark context and 28.5% for emotion (research on bark context and emotion). A binary label such as “dog barking present” is more defensible than calling the file aggressive, fearful, or playful from the waveform alone.
If the result fails, don't force it into the edit. Rewrite the prompt, use a more careful preset, or return to the original and choose a cleaner section. Rejection is part of a professional extraction workflow.
Exporting Your WAV and What to Document
Download the isolated track as a high-quality WAV when you need an editable sound-effect layer. Pro plans include lossless formats, longer durations, unlimited separations, and priority queues for heavier workflows. If your source is video, a batch audio extraction guide can help you prepare multiple files before separation.
Record the details that make the file reusable:
- Technical format: sample rate, bit depth, and channel layout.
- Recording conditions: microphone distance, room or outdoor environment, wind, and competing sounds.
- Content label: bark present, number of events if known, and whether speech or other animal sounds remain.
- Provenance: original filename, processing date, tool used, and licensing or consent status.
A clean WAV can still be unsuitable for research, accessibility work, or commercial reuse when its origin is unknown. For format decisions beyond WAV, compare the practical differences in AIFF or WAV workflows.
The complete routine is simple: preserve the source, prepare a safe copy, describe the bark precisely, choose the setting that matches the mix, inspect the spectrogram, listen for artifacts, and document the export. AI can save manual cutting time, but it can't replace judgment about context, provenance, or whether the result belongs in your scene.
Isolate Audio lets you upload a recording, describe the target bark in natural language, and receive the isolated sound alongside the remainder. Try it on a real field recording through Isolate Audio, then verify the WAV against the original before you put it in your edit.